🍳머리말
gRPC를 spring boot 내에서 실행해보는 예제 설명글입니다.
📕 Prerequisite
📔 jdk 11
📔 spring boot community
📕 gRPC Interface
📔 설명
gRPC를 사용하기 위해서는 .proto file에 정의된 data규약과 통신방법을 service와 message keyword로 정의해줘야 합니다.
📔 프로젝트 생성
library만 만들 것이기 때문에 간단히 gradle project로 생성해줍니다.
📔 folder및 file 생성
📑 folder생성
src/main에 proto folder를 생성해줍니다. 해당 folder 이름을 인식, .proto file을 compile할 수 있습니다.
📑 file생성
proto folder 하위에 helloworld.proto file을 생성해줍니다.
syntax = "proto3"; //proto3을 사용함

option java_multiple_files = true;
option java_package = "org.chb.examples.lib";
option java_outer_classname = "HelloWorldProto";

//service규정
service Simple {
  //SayHello가 오면 HelloReply를 하겠다의 의미
  rpc SayHello (HelloRequest) returns (HelloReply) {
  }
}

//요청 data 규약 : 문자열 name을 1로 사용하겠다.
message HelloRequest {
  string name = 1;
}

//응답 data 규약 : 문자열 message을 1로 사용하겠다.
message HelloReply {
  string message = 1;
}
📑 build.gradle 설정
기존 build.gradle과 겹치지 않도록 다음 예시를 보고 적절히 수정합니다.
buildscript {
    ext {
        protobufVersion = '3.14.0'
        protobufPluginVersion = '0.8.14'
        grpcVersion = '1.35.0'
    }
}
plugins {
    id 'java'
    id 'com.google.protobuf' version "${protobufPluginVersion}"
}

group 'org.example'
version '1.0-SNAPSHOT'

repositories {
    mavenCentral()
}

dependencies {
    testImplementation 'org.junit.jupiter:junit-jupiter-api:5.7.0'
    testRuntimeOnly 'org.junit.jupiter:junit-jupiter-engine:5.7.0'
    implementation "io.grpc:grpc-protobuf:${grpcVersion}"
    implementation "io.grpc:grpc-stub:${grpcVersion}"
    compileOnly 'jakarta.annotation:jakarta.annotation-api:1.3.5' // Java 9+ compatibility - Do NOT update to 2.0.0
}

protobuf {
    protoc {
        artifact = "com.google.protobuf:protoc:${protobufVersion}"
    }
    generatedFilesBaseDir = "$projectDir/src/generated"
    clean {
        delete generatedFilesBaseDir
    }
    plugins {
        grpc {
            artifact = "io.grpc:protoc-gen-grpc-java:${grpcVersion}"
        }
    }
    generateProtoTasks {
        all()*.plugins {
            grpc{}
        }
    }
}

test {
    useJUnitPlatform()
}
📑 Tasks -> build
Tasks의 build를 이용해 압축된 .jar file을 얻습니다. 이는 client와 server의 library import로 사용될 예정입니다.
📕 gRPC Client
📔 설명
client로 사용될 application을 만듭니다. 이는 interface와는 다르게 제대로 된 application project를 생성합니다.
📔 프로젝트 생성
spring initilizer로 spring boot project를 생성해줍니다.
📔 folder 및 file 생성
📑 folder생성
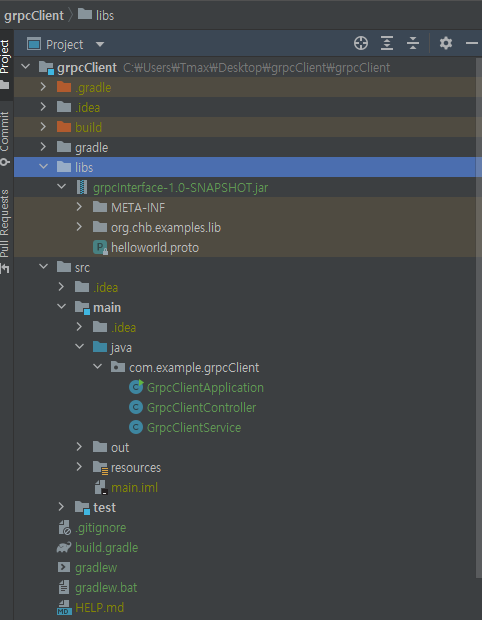
src folder level에 libs라는 folder를 생성한 뒤에 해당 경로에 만들어두었던 interface.jar를 넣어줍니다.

📑 source code 작성
java/{project명} 경로 하위에 다음 file들을 만들어줍니다.
GrpcClientController.java
package com.example.grpcClient;

import lombok.RequiredArgsConstructor;
import org.springframework.web.bind.annotation.GetMapping;
import org.springframework.web.bind.annotation.RestController;

@RestController
@RequiredArgsConstructor
public class GrpcClientController {

    private final GrpcClientService grpcClientService;

    @GetMapping("/test")
    public String printMessage() {
        return grpcClientService.sendMessage("test");
    }
}
GrpcClientService.java
package com.example.grpcClient;

import io.grpc.StatusRuntimeException;
import net.devh.boot.grpc.client.inject.GrpcClient;
import org.chb.examples.lib.HelloReply;
import org.chb.examples.lib.HelloRequest;
import org.chb.examples.lib.SimpleGrpc;
import org.springframework.stereotype.Service;

@Service
public class GrpcClientService {

    @GrpcClient("test")
    private SimpleGrpc.SimpleBlockingStub simpleStub;

    public String sendMessage(final String name) {
        try{
            HelloReply response = this.simpleStub.sayHello(HelloRequest.newBuilder().setName(name).build());
            return response.getMessage();
        } catch (StatusRuntimeException e) {
            return "FAILED with " + e.getStatus().getCode().name();
        }
    }
}
📑 application.yaml작성
server:
  port: 8081
grpc:
  client:
    test:
      address: 'static://127.0.0.1:9090'
      negotiationtype: plaintext
📑 build.gradle 설정
다음 예시 file로 겹치지 않도록 적절히 수정해줍니다.
plugins {
	id 'org.springframework.boot' version '2.7.0'
	id 'io.spring.dependency-management' version '1.0.11.RELEASE'
	id 'java'
}

group = 'com.example'
version = '0.0.1-SNAPSHOT'
sourceCompatibility = '11'

repositories {
	mavenCentral()
}

configurations {
	compileOnly {
		extendsFrom annotationProcessor
	}
}

dependencies {
	implementation 'org.springframework.boot:spring-boot-starter'
	testImplementation 'org.springframework.boot:spring-boot-starter-test'
	implementation 'org.springframework.boot:spring-boot-starter-web'
	implementation 'net.devh:grpc-client-spring-boot-starter:2.12.0.RELEASE'
	implementation files('libs/grpcInterface-1.0-SNAPSHOT.jar')
	compileOnly 'org.projectlombok:lombok'
	annotationProcessor 'org.projectlombok:lombok'
	testImplementation 'org.springframework.boot:spring-boot-starter-test'
}

tasks.named('test') {
	useJUnitPlatform()
}
📕 gRPC Server
📔 설명
server로 사용될 application을 만듭니다. 이는 client와 마찬가지로 제대로 된 application project를 생성합니다.
📔 프로젝트 생성
spring initilizer로 spring boot project를 생성해줍니다.
📔 folder 및 file 생성
📑 folder생성
src folder level에 libs라는 folder를 생성한 뒤에 해당 경로에 만들어두었던 interface.jar를 넣어줍니다.

📑 source code 작성
main/java/{project명} 경로 하위에 다음 file을 만들어줍니다.
GrpcServerService.java
package com.example.grpcServer;

import io.grpc.stub.StreamObserver;
import net.devh.boot.grpc.server.service.GrpcService;
import org.chb.examples.lib.HelloReply;
import org.chb.examples.lib.HelloRequest;
import org.chb.examples.lib.SimpleGrpc;
import org.springframework.beans.factory.annotation.Autowired;

@GrpcService

public class GrpcServerService extends SimpleGrpc.SimpleImplBase {
    @Override
    public void sayHello(HelloRequest request, StreamObserver<HelloReply> responseObserver) {
        HelloReply reply = HelloReply.newBuilder()
                .setMessage("Hello ==> " + request.getName())
                .build();
        responseObserver.onNext(reply);
        responseObserver.onCompleted();
    }
}
📑 application.yaml 작성
main/resources 하위 경로에 application설정을 추가합니다.
grpc:
  server:
    port: 9090
spring:
  application:
    name: user-service
  main:
    allow-circular-references: true
📑 build.gradle 작성
plugins {
   id 'org.springframework.boot' version '2.7.0'
   id 'io.spring.dependency-management' version '1.0.11.RELEASE'
   id 'java'
}

group = 'com.example'
version = '0.0.1-SNAPSHOT'
sourceCompatibility = '11'

repositories {
   mavenCentral()
}

dependencies {
   implementation 'org.springframework.boot:spring-boot-starter'
   implementation 'link.jfire:simplerpc:1.0'
   implementation 'io.github.HuChen-dot:simplerpc-spring-boot-starter:1.6'
   implementation 'net.devh:grpc-server-spring-boot-starter:2.13.1.RELEASE'
   implementation files('libs/grpcInterface-1.0-SNAPSHOT.jar')
   testImplementation 'org.springframework.boot:spring-boot-starter-test'
}

tasks.named('test') {
   useJUnitPlatform()
}
📕 구동
📔 실행
client와 server를 run해줍니다.
📔 결과
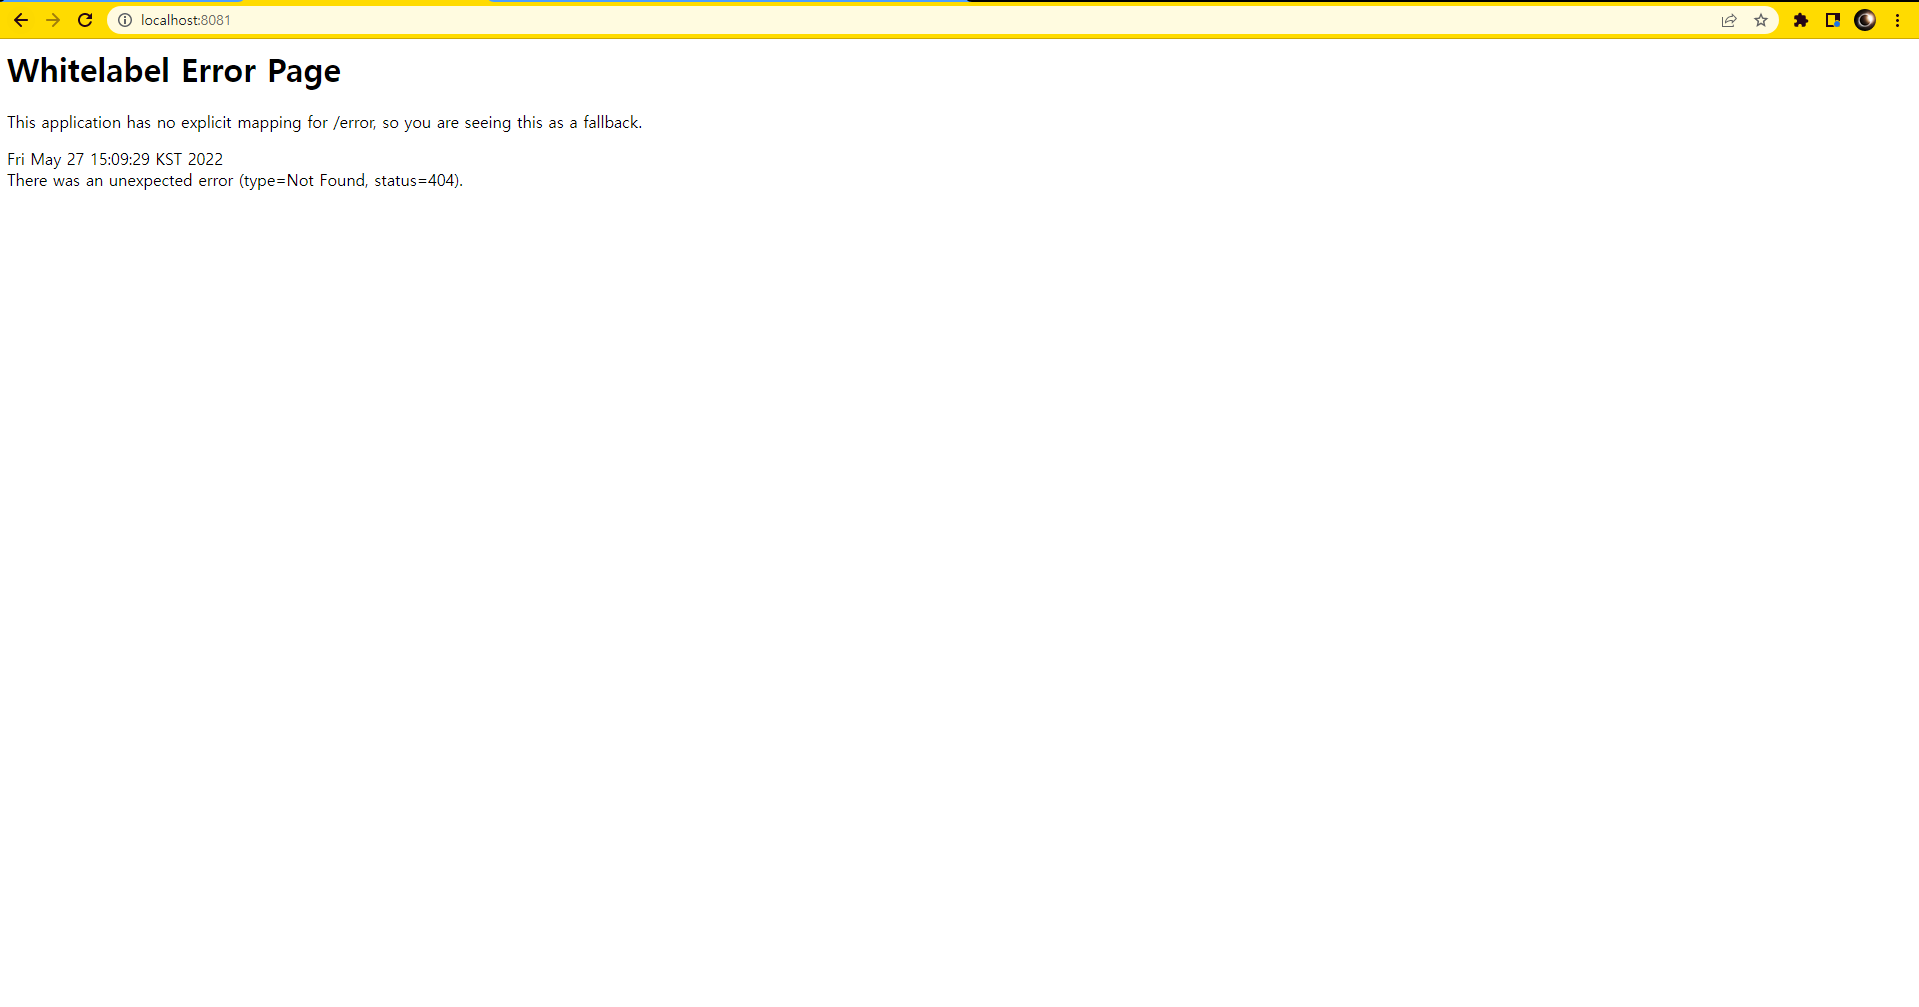
client는 localhost:8081로 localhost:9090 server에 request를 보내며 /test API를 통해 response를 하고 있습니다.
📑 client모습1 : 기본 화면

📑 client모습2 : API호출 후 server로 부터 response를 받은 모습

📕 출처
https://yidongnan.github.io/grpc-spring-boot-starter/en/server/getting-started.html
Getting Started
Spring Boot starter module for gRPC framework.
yidongnan.github.io
*더 나은 내용을 위해 지적, 조언은 언제나 환영입니다.


